How to Time an AI Voiceover Before Making the Video
Estimate a script’s duration, listen for awkward phrases, and give the narration enough room in your finished edit.

A useful timing estimate tells you what to plan; the actual audio tells you where to cut. This fresh example uses standard character Mateo in a Gallery-directed warm room, with a short spoken explanation you can compare against the finished clip.
The presenter is a standard Affogato fictional character. The saved character supplies identity; the Gallery references supply the photographic direction.
Estimate the speech before planning every shot
A voiceover that runs longer than the pictures is a production problem you can often catch early. Start with a rough estimate from the script’s word count and a comfortable speaking pace. Then replace that estimate with the duration of the actual audio preview.
The calculator below divides words by words per minute and adds any pause allowance you enter. It is a planning tool. It does not predict a particular voice engine, pronunciation, or delivery. A brand name, a list of numbers, or a deliberate pause can change the timing substantially.
Decide what the listener should understand before deciding how quickly the voice should speak. If the script explains several ideas, a shorter script or another shot is usually more useful than rushing every sentence to meet an arbitrary duration.
Our working script is: “Start with the sentence you want people to remember. Then give the pictures enough time to explain it.” It has eighteen words. At a planning pace of 140 words per minute, the spoken portion is about 7.7 seconds before any extra pauses. That is a planning estimate, not a measurement of the returned clip.
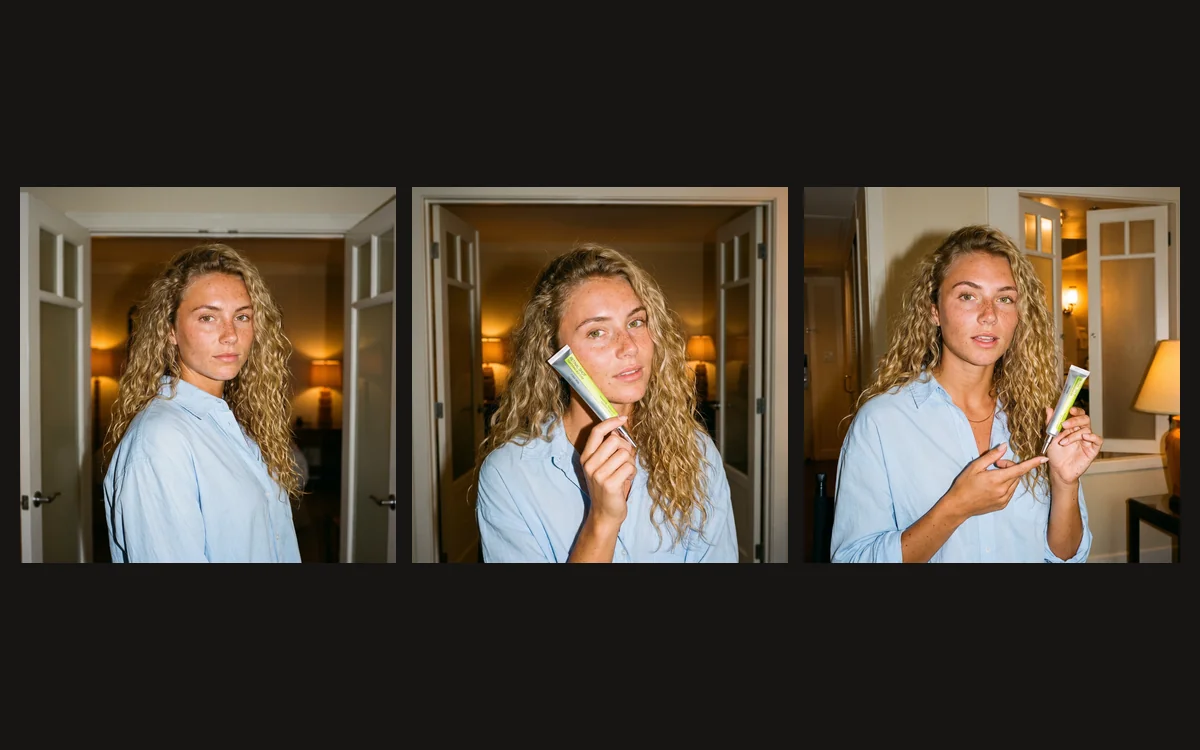
Mateo is a standard Affogato character. His saved face establishes the identity, and a Gallery reference supplies the amber low-key room and lighting. The character and setting were prepared before requesting the spoken video, so the article does not rely on a recycled skincare clip.
Make the sentence easy to hear once
Read the script aloud at a pace you could comfortably follow. Replace long introductory clauses with the useful point. Split sentences when they contain several instructions. Spell out an abbreviation when the listener would not know what the letters mean.
Listen for phrases that only look natural on the page. A sentence such as “utilise the aforementioned reference assets” becomes “use the reference images.” The second version is easier to say and easier to understand. Cutting those phrases improves both the timing and the explanation.
Put pronunciation notes in your production document as soon as you hear a problem. Record which product name, abbreviation, or number sounded wrong, and test the smallest wording change that makes it clear. A sentence containing “200 mL” may need a different written form for a particular voice than it needs in the on-screen caption. Listen to the revised preview before reusing it in several clips. Keep the original factual wording in your notes so a pronunciation adjustment does not accidentally change the information being communicated.
Read this small script aloud before rendering. The first sentence asks the listener to remember one point; the second explains what the edit should do. A short pause between them is useful. Adding “seamlessly,” “professionally” or another vague qualifier would use time without adding a clearer instruction.
Use an audio preview before animating the presenter
In Talking Head Studio, enter the script, choose the host and voice, and use Table read to listen before generating the full episode. Preview and generation have their own estimates; check the current studio information rather than assuming that every preview is free.
Listen to the beginning and ending as carefully as the middle. A clipped first syllable can make the product name unclear. A rushed final sentence can hide the instruction the viewer needs. Correct those problems in the script or voice selection before rendering the face.
Generate a spoken preview and listen for the actual ending. Check pronunciation, the pause between sentences and whether the final word finishes cleanly. A ten-second generation setting describes the requested picture duration; it does not prove that the speech was delivered completely or at the pace you estimated.
In this returned example, the two sentences occupy roughly five seconds each in the ten-second portrait clip. The second finishes close to the end, so an edit that needs a longer closing hold would need extra picture time. The complete audio is included above. Those observed timings are more useful for the edit than the initial 7.7-second planning estimate.
Build the pictures around the actual narration
Once the audio is approved, assign useful footage to each sentence. A presenter can introduce the point, a close-up can show the detail, and a final product view can carry the ending. The shot should stay long enough to understand what the words refer to.
If the presenter’s mouth is not synchronised with the audio, use it as a visual demonstration with separate voiceover. Do not describe unrelated mouth movement as a speaking performance. Choose the appropriate talking-head workflow when the face needs to deliver the actual script.
Leave a little editorial room around important instructions. If the voice says “check the lettering,” the matching close-up should arrive early enough for the viewer to find the words, then remain long enough to inspect them. You do not have to hold every shot for an entire sentence, but cutting away at the exact instant a detail is named can make the explanation harder to follow. Listen without watching once, then watch with the sound on. That separates a confusing script from a picture that arrives at the wrong time.
Place a cut at a phrase boundary rather than at an arbitrary round number. If the narration is still finishing, extend a useful supporting view or shorten the wording. Do not speed up a natural delivery just because an earlier clip happened to be shorter.
The timing planner below lets you change the word count, pace and extra pauses. It produces an estimate for planning. Compare that estimate with the actual returned audio before deciding how long the finished edit needs to be.
Listen to the exported video from beginning to end
Play the export on an ordinary phone or laptop at a normal volume. Check speech clarity, music balance, pronunciation, and the last word. If you add captions, compare them with the actual audio and correct names or specialist terms.
Watch any cuts through a spoken phrase. A visual transition can work while the sentence continues, but an audio cut should not remove part of a word or introduce a sudden level change. Leave enough room for the listener to register the final point.
Keep the approved script, voice choice, audio file, and duration with the project. When making the next episode, use the same planning steps rather than assuming a new script will have the same runtime. Similar word counts can still produce different pacing.
Watch the exported file with sound from beginning to end. Make sure the last word remains audible, the picture does not end mid-gesture and any closing product or information card stays up long enough to read. Then check the file at the size and volume where your audience will actually encounter it.
Product and photographic sources:
Visual Inspiration Gallery ·Gallery source for Mateo in the Gallery-directed room: @antoniamilano
To plan your full speaking-video workflow, explore Affogato Studios. For individual creation tools, browse Affogato Tools.