Plan a short product sequence with a purpose for each shot, the right references, and an edit you can assemble without guessing.
Nov 9, 20265 min read
Start with the complete four-frame storyboard below: establish the product, inspect a detail, show the side, and finish with a hero view. We use the real Ridge Stars & Stripes Stealth wallet throughout. Scroll to the final video to see how these frames become a sequence, then return to the prompts for each shot.
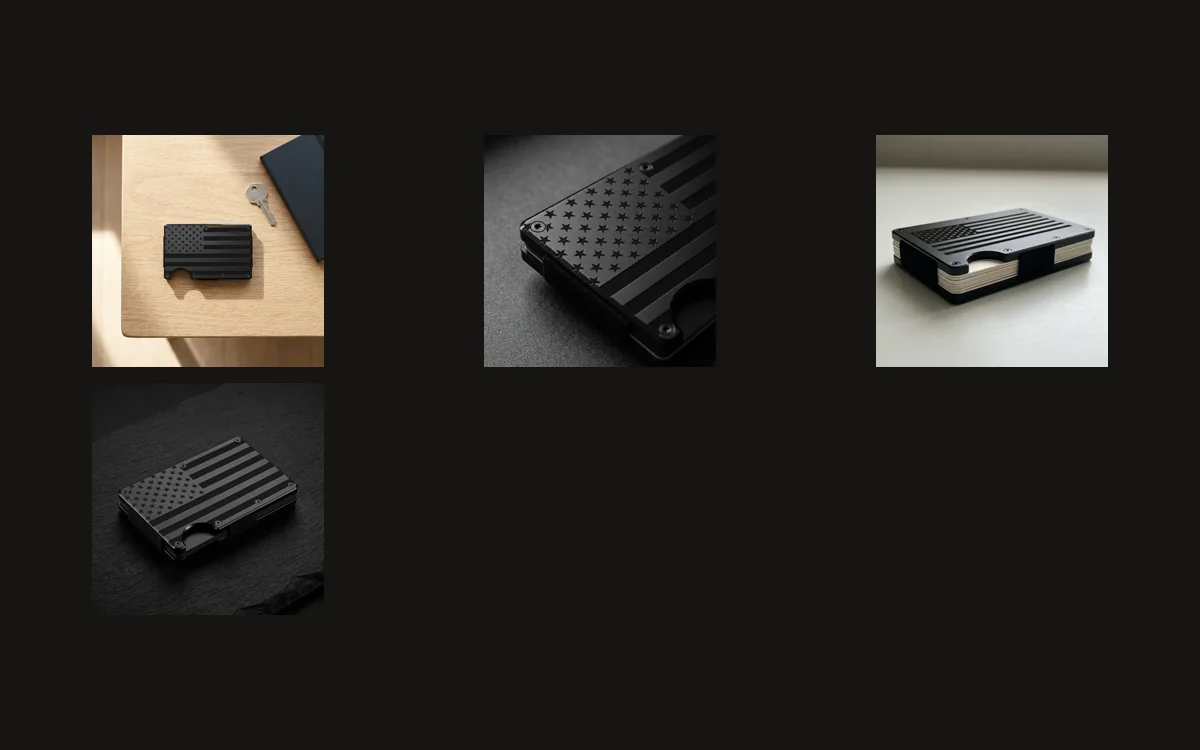
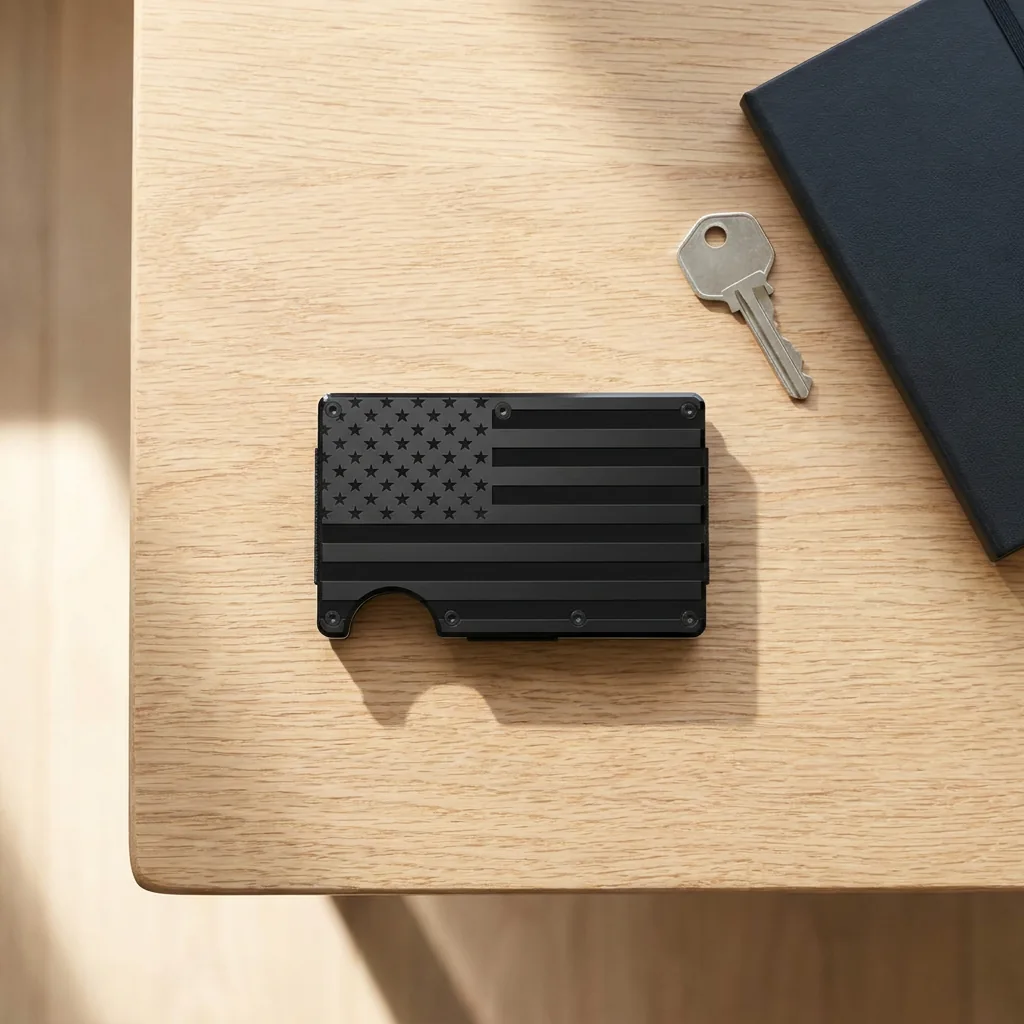
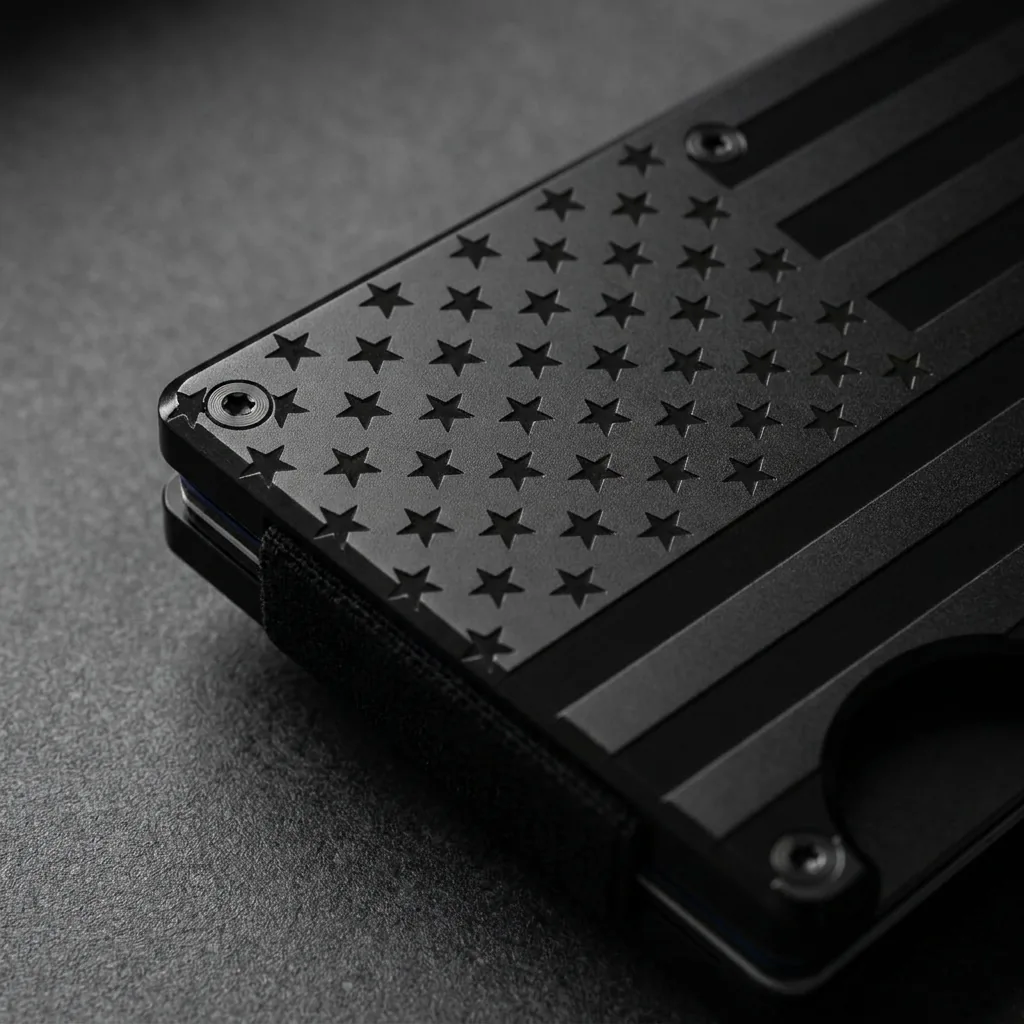
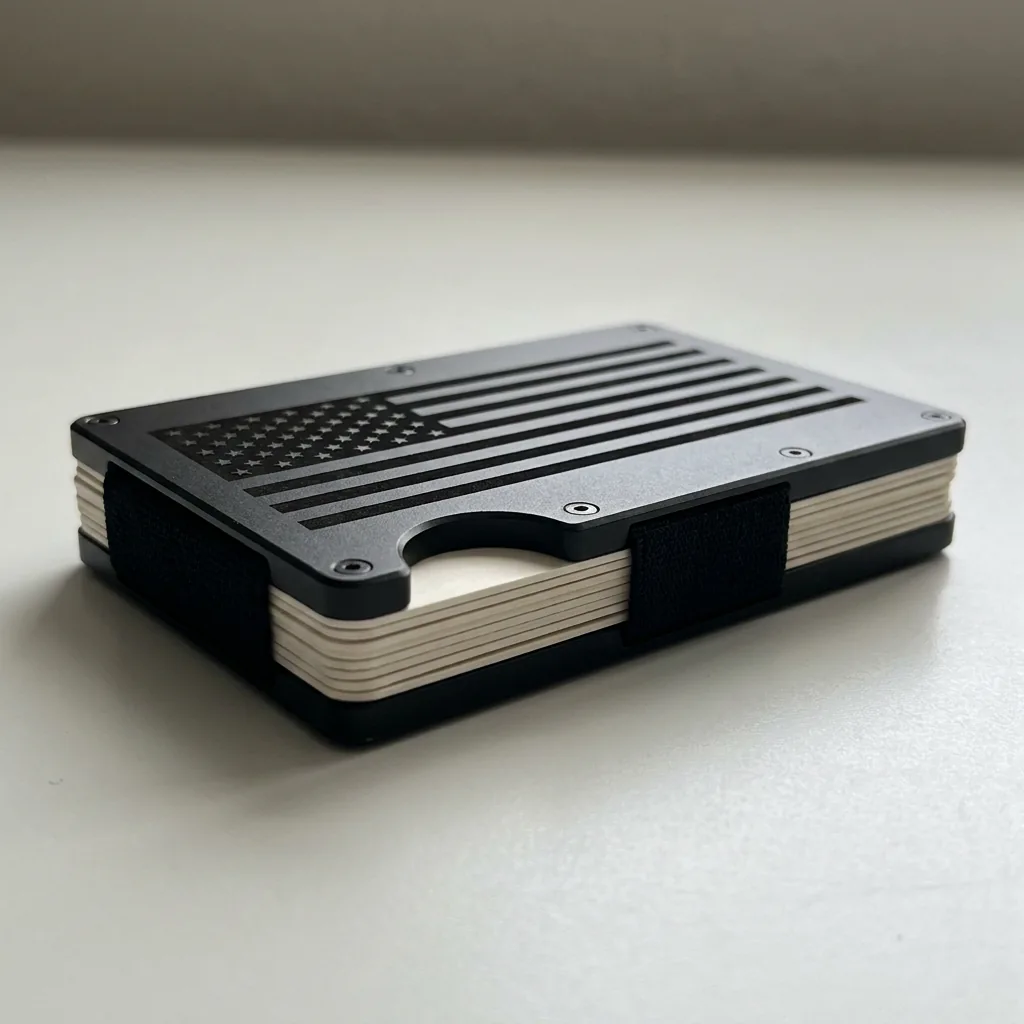
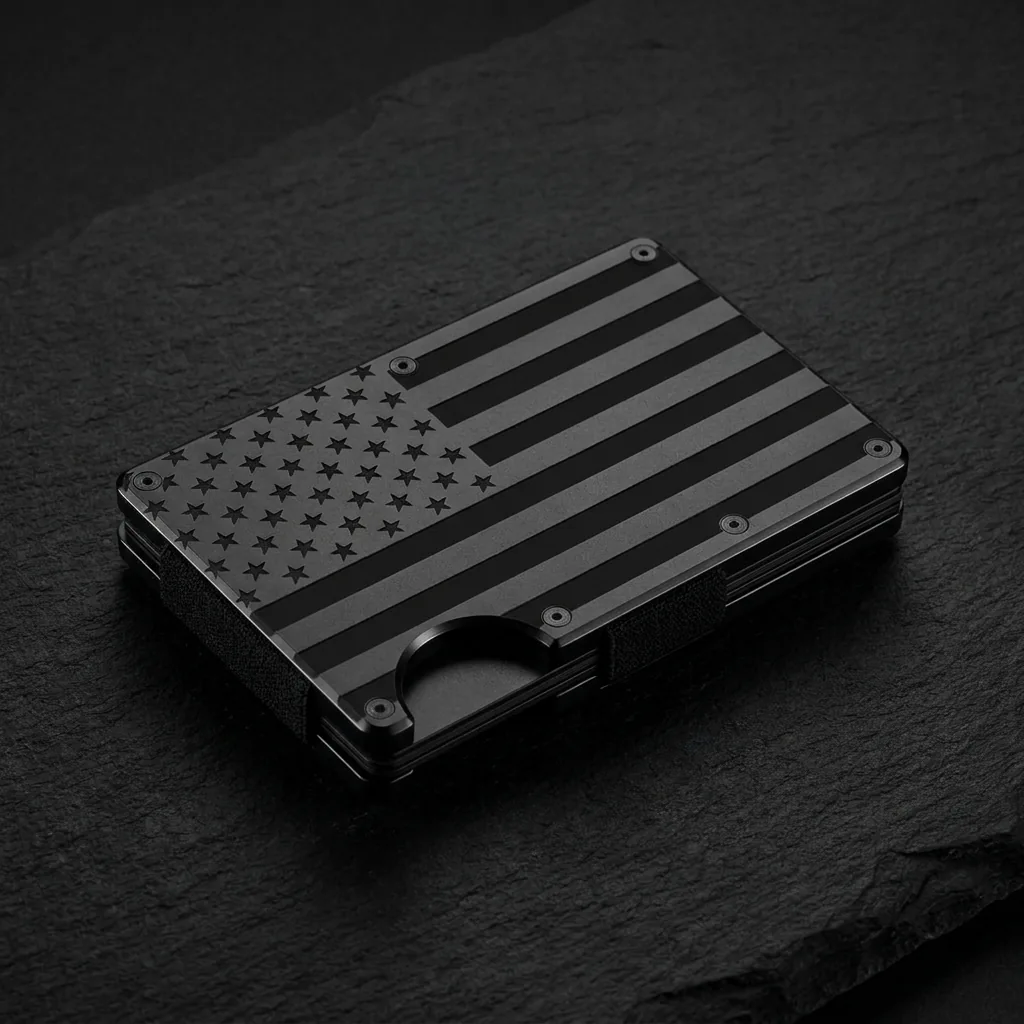
01 · Establish — The wallet in a desk arrangement gives the viewer context.02 · Detail — The engraved flag and metal finish get their own close view.03 · Side — The low view introduces the layered edge and cards.04 · Hero — A complete view on dark stone closes the sequence.
Choose the final impression before generating individual frames. For this wallet, the ending should make the complete black metal cardholder easy to recognise. A hero view with a quiet edge highlight gives the engraved flag room to read without introducing another prop or a new action.
Work backward from that ending. The viewer first needs to know what the object is, then see a detail worth looking at, then understand another surface. That gives us four jobs: the desk flatlay, the engraving detail, the layered side view and the dark-stone hero. Each frame adds information rather than repeating the same close-up.
We used the manufacturer’s real front and back photographs as the product references. Gallery photographs supplied the styling and framing for each scene. Keeping those roles separate helps prevent a beautiful reference image from replacing the actual item with an invented black wallet.
Give each shot one job
Write one sentence for what each shot must show. The establishing frame introduces the wallet on a wooden desk with a key and notebook. The second isolates the flag engraving and metal finish. The third reveals the layered edge and cards. The last returns to a complete product view on dark stone.
The collage is the storyboard, not a set of screenshots taken from an already finished video. We generated these stills first and inspected them before animation. Their different settings make the change of shot clear. If a campaign needs seamless continuity, keep the same surface and light across the frames instead.
Assign time to the plan while it is still cheap to change. Here each generated shot is five seconds, giving a twenty-second assembly. The interactive planner below has four editable rows so you can change the emphasis before rendering. A shorter edit can use only the useful portion of each clip.
Match the reference to the shot you want
For every frame, upload the real Ridge product references in Image Studio and add the selected Gallery photograph as the photographic reference. Ask for the real plates, flag engraving, screws, elastic and thumb cutout to survive. Then describe the framing, light, setting and negative space for that one frame.
The establishing prompt borrows a casual desk arrangement. The detail prompt borrows close product framing and controlled highlights. The side view uses a low camera position to show layers. The hero uses dark stone and a restrained edge light to separate black metal from a dark background. The exact image prompts are included beside each result.
Review product details against the real source, not against another generated frame. The side image is an illustration of the layered construction, not evidence of an exact measured thickness or capacity. Small engraved details and screw placement can drift, so inspect them at the size the finished video will actually use.
01 · Establish — The wallet in a desk arrangement gives the viewer context.02 · Detail — The engraved flag and metal finish get their own close view.03 · Side — The low view introduces the layered edge and cards.04 · Hero — A complete view on dark stone closes the sequence.
Add a small motion brief to each panel
Move to Image to Video only after each still has a clear job. We used Affogato Video in Balanced mode, five seconds per frame, square format, and no audio. Short product clips make it easier to see whether the camera instruction changes the object.
Use small moves: a push toward the desk flatlay, a lateral view across the engraving, a low slide along the side, and an arc for the hero. Ask the wallet to stay rigid and stationary. Avoid adding a hand opening the wallet when you do not have a reference that clearly establishes the mechanism.
Watch the result rather than judging the prompt alone. The hero clip changes the wallet’s orientation noticeably; if your brief requires a completely fixed product, retry with a shorter move or use a shorter excerpt. The important point is to select a clip because it communicates the intended view, not because its prompt contains the right camera words.
Assemble only the shots that survive review
Assemble the four clips in storyboard order. Use simple cuts so the shift from desk to detail to side to hero is clear. The sequence below contains the actual generated clips; it is not an animation of static screenshots presented as video.
Check the cut points for accidental changes in the product. The wallet should remain the same variant even when lighting and background change. Check the opening and closing frames, and leave the final complete view on screen long enough to recognise the product before the page or ad ends.
Keep the storyboard, still prompts and motion prompts with the final export. If the side shot is weak, you can replace that one step without rebuilding the whole sequence. That is the practical value of storyboarding: the work has clear parts, and each part has a reason to exist.
Four five-second generated shots, assembled with simple cuts into the planned twenty-second sequence.